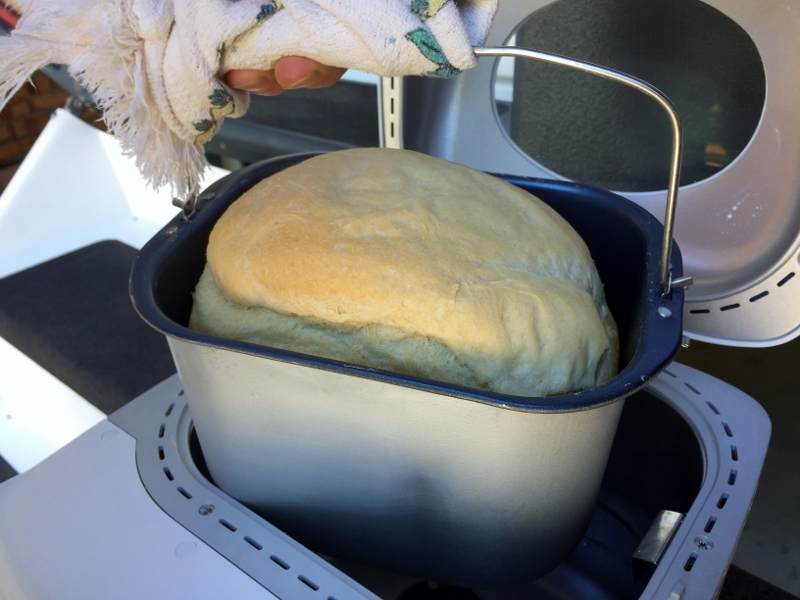
As we spend a lot of time travelling which often includes to the more remote regions for weeks at a time, it’s not a simple exercise to just whip down to the local shops to pick up a loaf of bread. Nor do we have the room to travel with a dozen or so loaves. But this doesn’t mean we go without.
We’ll be the first to admit there’s nothing better than sitting around a fantastic campfire and cranking up camp ovens to bake a loaf or two. However, when we’re unable to have a campfire due to restrictions or wet weather, or perhaps we’re travelling with a group, we need to find another way to fulfil our fresh bread craving needs.
With the help of today’s technology, being able to cook fresh bread while on the road has been made much simpler by using an inverter and a bread machine. Now you can’t just use any inverter – to start with, you’ll need clean power to protect the sensitive electronics that most of our appliances have these days, including the bread machine. For this reason alone, you’ll need to have a puresine wave inverter.
Secondly, you need to make sure the inverter can do the job, as bread machines differ when it comes to power requirements. My first machine which is now more than 12 years old draws 470 amps, whereas my newer and more compact model, draws significantly more at 650 amps at peak.
So it’s important to check the bread machine’s manufacturer instructions to obtain the wattage requirements prior to connecting to any inverter. As the baking cycle is where the most power is drawn, your inverter needs to be powerful enough, along with your battery bank, to cope with the load.
Once you’ve got that sorted you’ll be off and running in no time, as a bread machine is so versatile and makes so much more than just a variety of loaves. How about dough for your pizza, or rolls or sweet buns and pastries? Surprisingly, some bread machines can even make jam and yoghurt.
The key to making good bread all comes down to the ingredients, and even then, day temperatures can also play a part in how good a loaf turns out. A simple yet effective white loaf recipe may use only bread flour, yeast and water, whereas some can include other flours, herbs, improver, salt, sugar, butter, etc.
For a simple white loaf, we’ve always used the quality bread flour from South Australian flour mill, Laucke.
Here’s the recipe we use based on our Panasonic bread machine, Model BBM100:
INGREDIENTS
3 cups Laucke White Flour Mix
1¼ cups water
1½ teaspoons dry yeast
METHOD
- Place the paddle into position in the bread pan.
- Add the water into the bread pan
- Add the flour
- Sprinkle the yeast over the flour
- Place the bread pan into the machine and lock into position
- Switch machine on and select the cooking program (we choose Basic)
- Select the crust colour (we like a dark crust)
- Press Start
Depending on the bread machine and your selections for baking, the entire process can take somewhere between 2½ hours – 3½ hours (ours takes 3 hours).
For storing bread on the road, you’ll find different varieties of bread will keep longer than others. In warmer climates, it’s not uncommon for bread to go mouldy within a couple of days, so to help your loaf last longer, store it in an air tight container or a large snap lock bag with as much air removed as possible. Then place it somewhere cool in your set up. We’ve been known to keep ours in the fridge on occasions, and although this may dry the bread out, it works well if you use it for toasting.
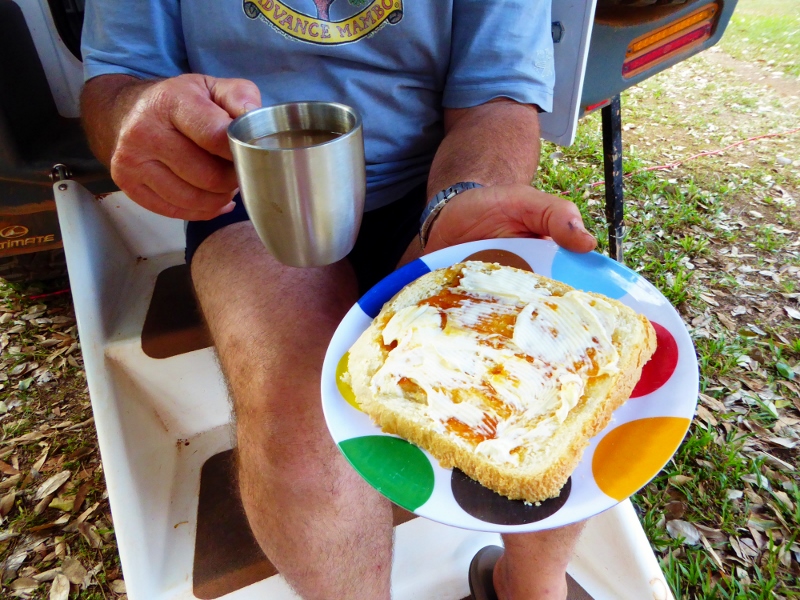
When we travel, we love the fact that we’re able to be in the middle of nowhere and have some super fresh homemade bread. It doesn’t get much better! So the next time you’re ready to set off on a trip, consider the benefits of owning an inverter and travelling with a bread machine – you can make your own bread cheaply and easily using a few ingredients, and with just a simple flick of a switch.
Catch you next time.
Grant & Linda


